EMAIL SUPPORT
dclessons@dclessons.comLOCATION
USLAB: Traffic blacklisting using Cloud Armor
Task :
- Configure HTTP Load Balancer
- Configure test Instance
- Create Cloud Armor Security Policy and Test the Traffic
Solution
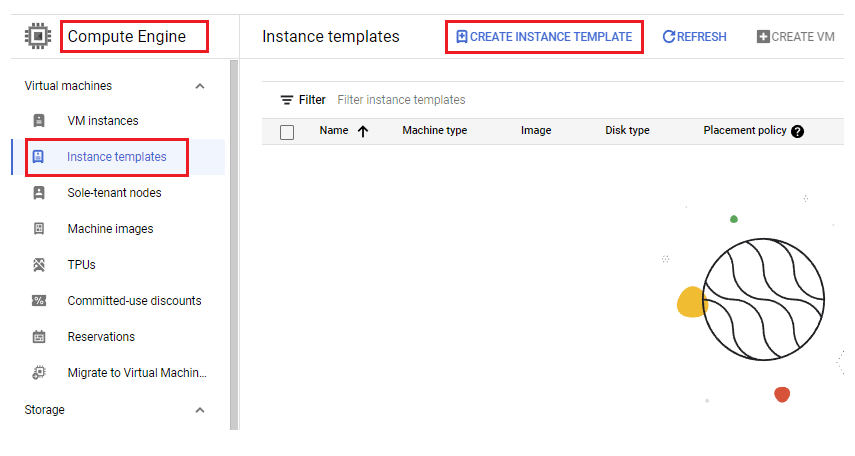
Task 1: Create an Instance Template
Under Compute Engine | Instance Template : Create Instance Template
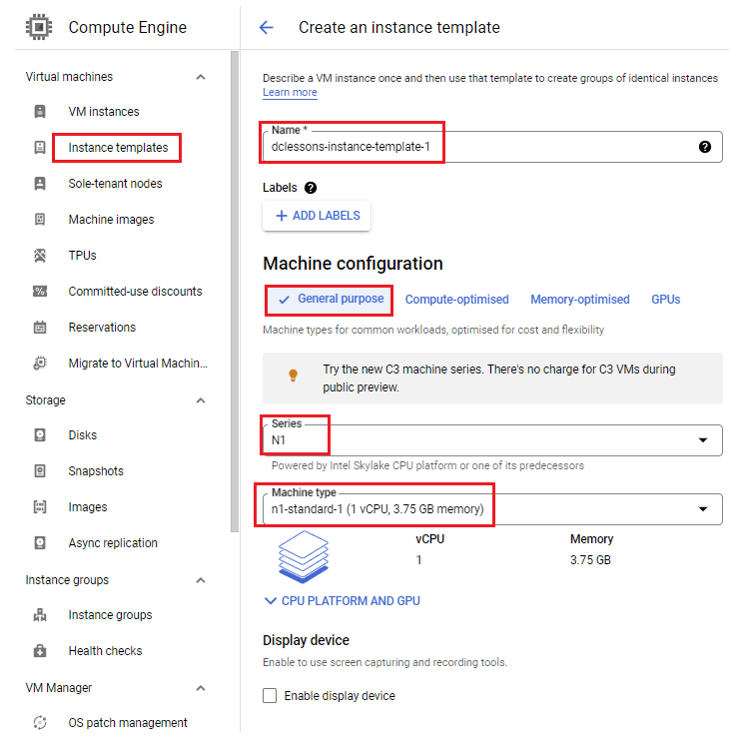
Under Create Instance Template | Name: dclessons-instance-template 1 | | Machine Configuration: Series : N1 , Machine Type: n1-standard-1
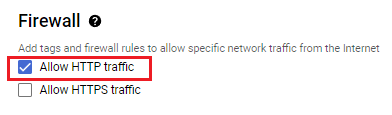
Under Firewall Rule : Click Allow HTTP Traffic
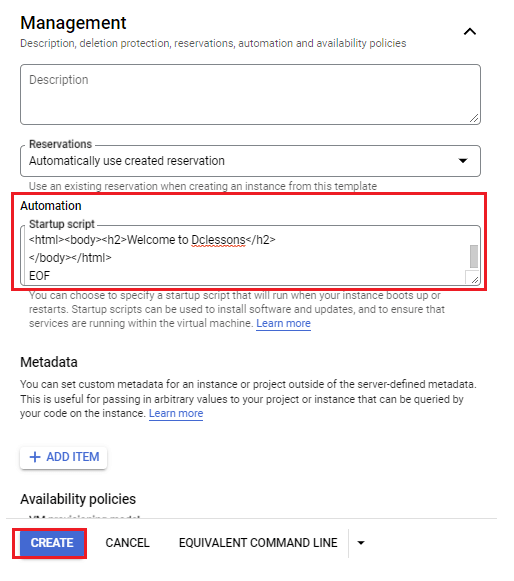
Under Advance Option | Under Management: Automation: Put below command | Click Create
#! /bin/bash
apt-get update -y
apt-get install apache2 -y
apt-get install php7.0 -y
mv /var/www/html/index.html /var/www/html/index.php
cat <<EOF > /var/www/html/index.php
<html><body><h2>Welcome to Dclessons</h2>
</body></html>
EOF
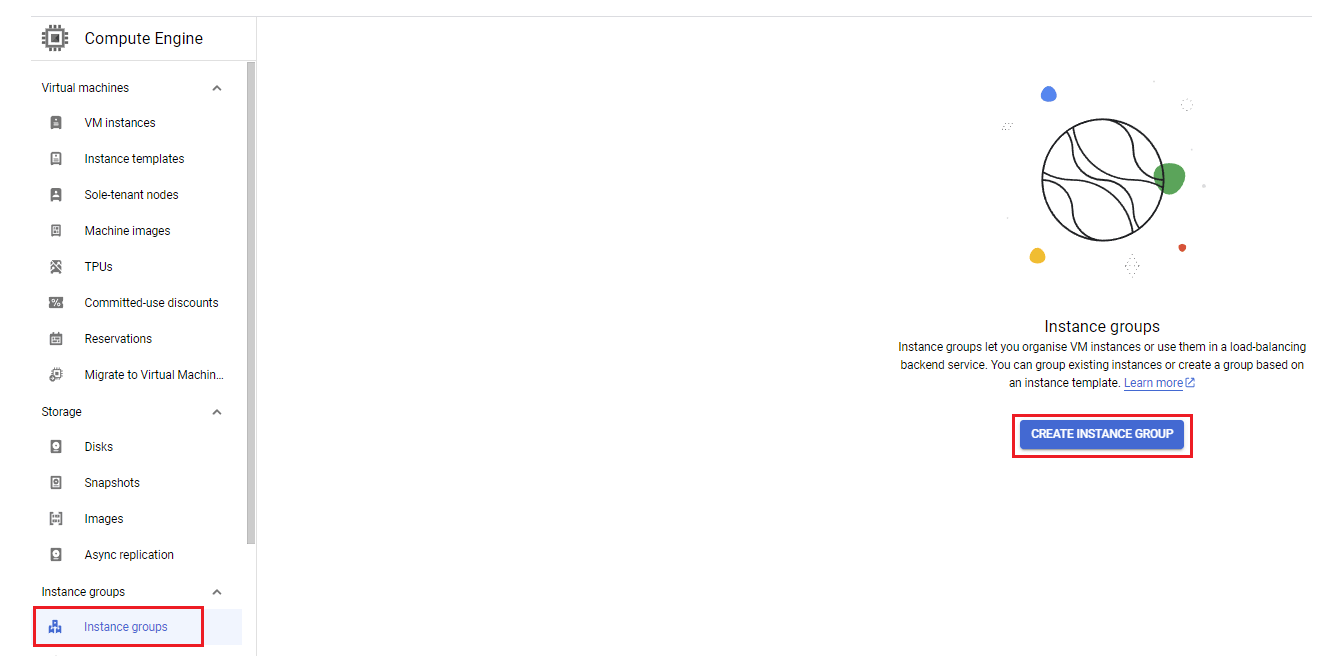
Task 2: Create Instance Group
Click on Compute Engine | In Left Side bar: Click on Instance Group
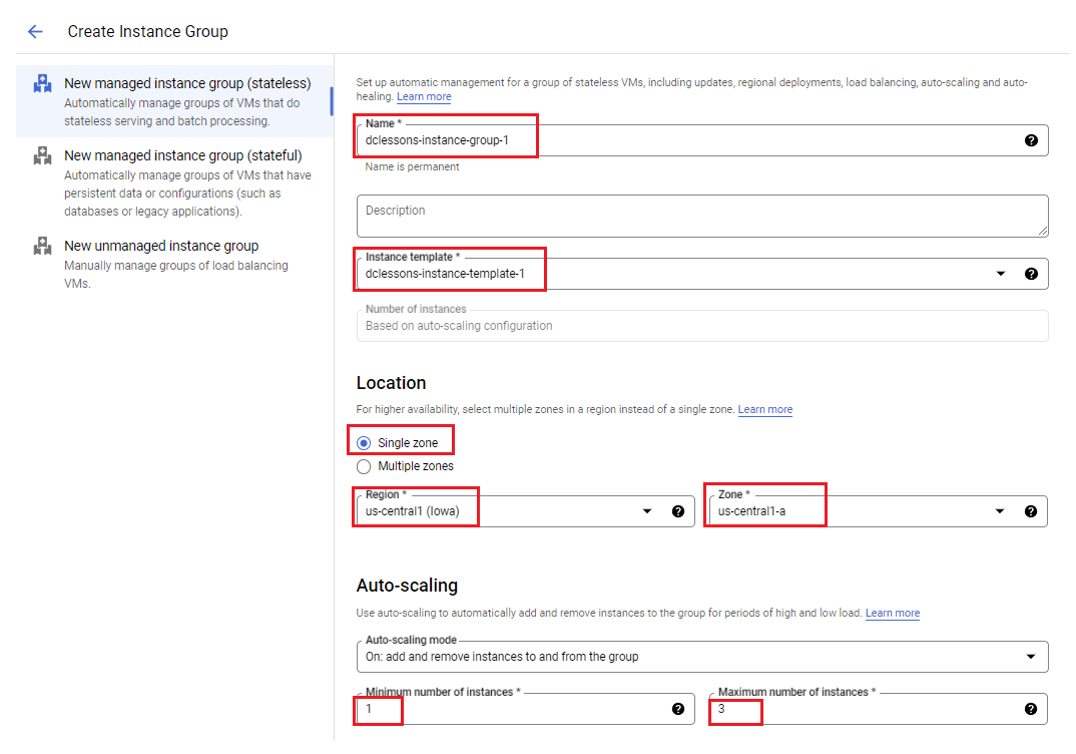
Under Instance Group | Name: dclessons-instance-group-1 | Select Instance template: dclessons-instance-template-1| Location: Single Zone| Region: us-central1(lowa), Zone: us-central1-a
Under Auto-Scaling: Mode: Select On: add and remove instance to and from the group | Minimum number of instance: 1| Max: 3
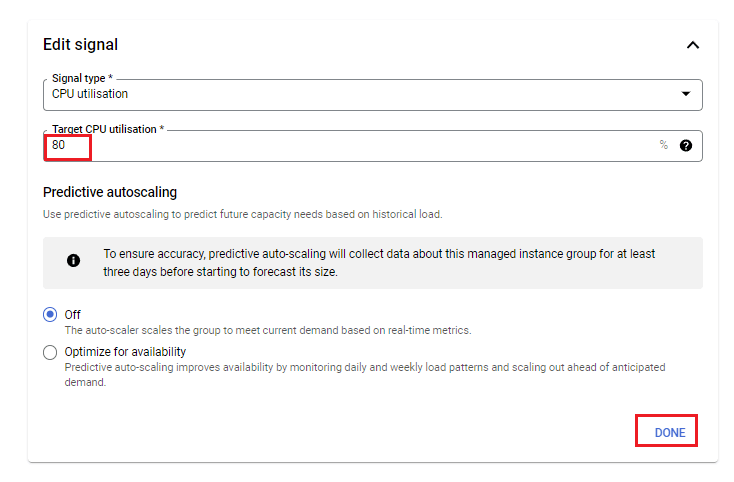
Expand Auto scaling Metrics section| Edit Signal: Under Signal Type: CPU utilization | Target CPU Utilization: put 80 | Leave other setting as it is | Done and click on Create
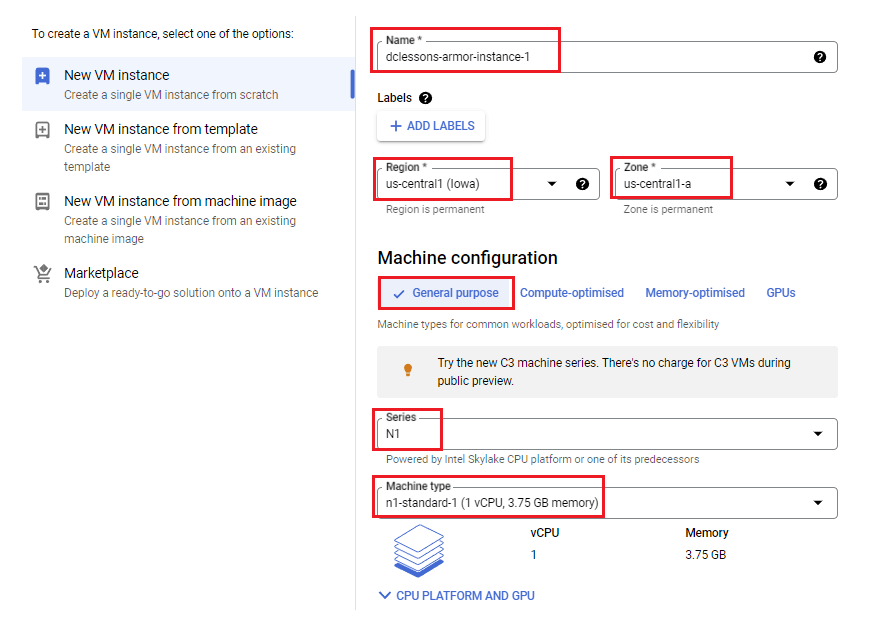
Task 3: Create Instance for Cloud Armor
Under Compute Engine | VM Instance: Create Instance

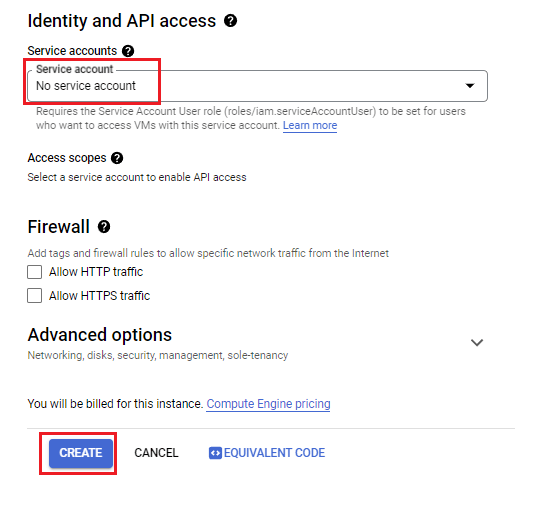
Under Create Instance | Name: dclessons-armor-instance-1 | Region: us-central1(lowa) , Zone: us-central1-a | Machine Configuration: Series : N1 , Machine Type: n1-standard-1
Under Identity & API Access | Service Account: No Service Account | Rest keep as it is default and click Create
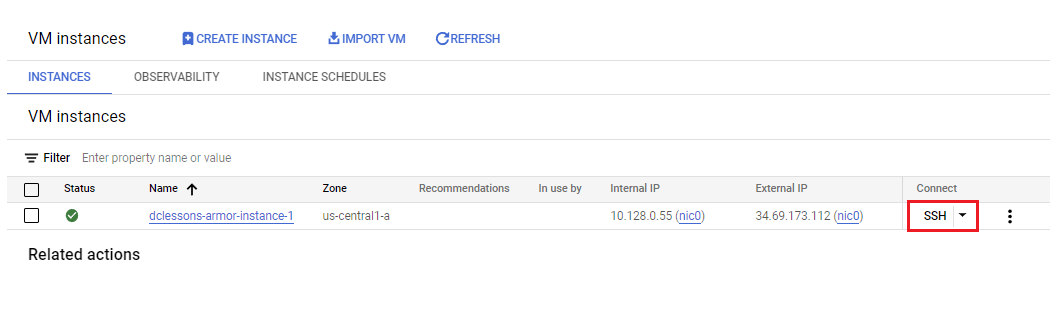
SSH to dclessons-armor-instance-1 and run below command
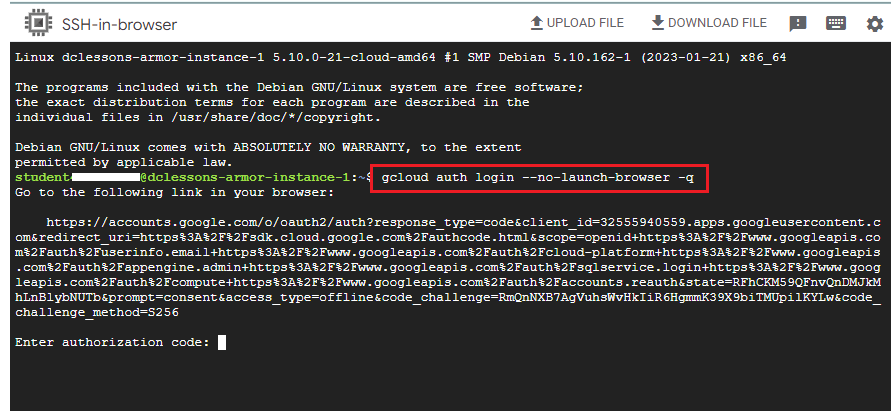
 gcloud auth login --no-launch-browser -q
You will receive below as the output. Copy the URL mentioned in the output.
Click on Allow and Copy the Code
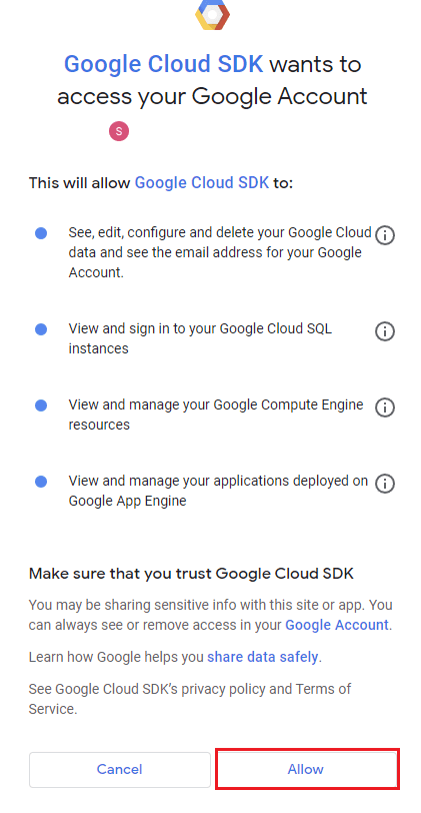
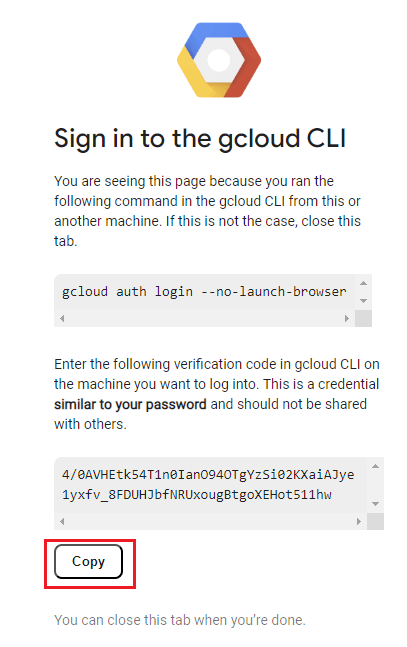
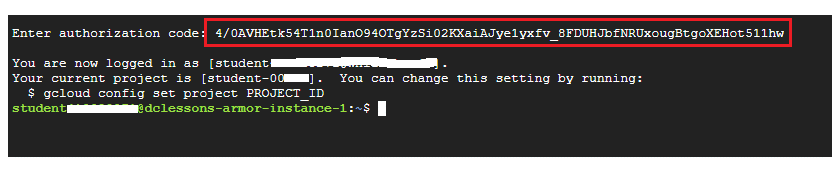
Put the code under: Enter authorization code:
Task 4: Configure Load Balancer
In Left side of main Window | Scroll Down and Select Network Services | Select Load Balancing: Create Load Balancer

Comment
TABLE OF CONTENTS
- Cloud Storage Overview
- Understanding Cloud Firestore & Cloud SQL
- Understanding Cloud Spanner & Bigtable
- LAB Configure GCP Bucket
- LAB GCP Cloud Storage Bucket , Upload Object and enable versioning
- LAB Implement Google Cloud SQL & Test
- LAB Configure Cloud Spanner & test
- LAB Create Lifecycle policies of Bucket
- Networking in GCP
- GCP Load Balancing & NAT
- GCP Hybrid Connectivity
- LAB: Configure Auto Scaling in GCP
- LAB: Configure & Test HTTP(S) Load Balancing
- LAB: Configure a custom VPC in GCP
- LAB: Deploying networks using Terraform
- LAB: Communicate with Internet using Cloud NAT
- LAB: Creating VPC Peering Architecture
- LAB: Introduction to Network Load Balancer
- LAB: Configure Firewalls Priority
- LAB: Encrypting and Decrypting data using Cloud KMS
- LAB: Traffic blacklisting using Cloud Armor
- LAB: Creation of a Cloud HA VPN Connection
RECENT POSTS
- Installing Context-Aware Network Access Control using Cisco ISE Policies
- Designing Network Access Control that is Scalable using Cisco ISE Architecture
- Enterprise Network Access Control and Policy Enforcement using Cisco ISE
- Secure Device Administration and Network Access Using AAA Architecture
- Designing Enterprise-Class Hybrid Cloud Connectivity Using AWS Networking Services
- Exploring Core AWS Networking and Messaging Concepts for Modern Cloud Architectures
- Understanding Key AWS Services for Modern Cloud Architectures
- Building a Strong AWS Foundation with Amazon S3, EC2, and Virtual Private Cloud
- Understanding the ENSDWI Course: Advanced Cisco SD-WAN (Viptela) Concepts
- A Complete Guide to the DCACI-A Course: Mastering Advanced Cisco ACI Concepts


LEAVE A COMMENT
Please login here to comment.