EMAIL SUPPORT
dclessons@dclessons.comLOCATION
USLAB: Configure Network Loadbalancer
Task :
In this lab We will Configure Elastic network load balancer , along with Two EC2 instance , in one Instance it will run Apache and On Another Instance it will Run Tomcat and via Load balancer we will load balance traffic between these two Servers.
Step 1: Launch 2 EC2 Instance and Install Apache and Tomcat
Install Two Ubuntu instance , SSH to one of them and run command to install Apache
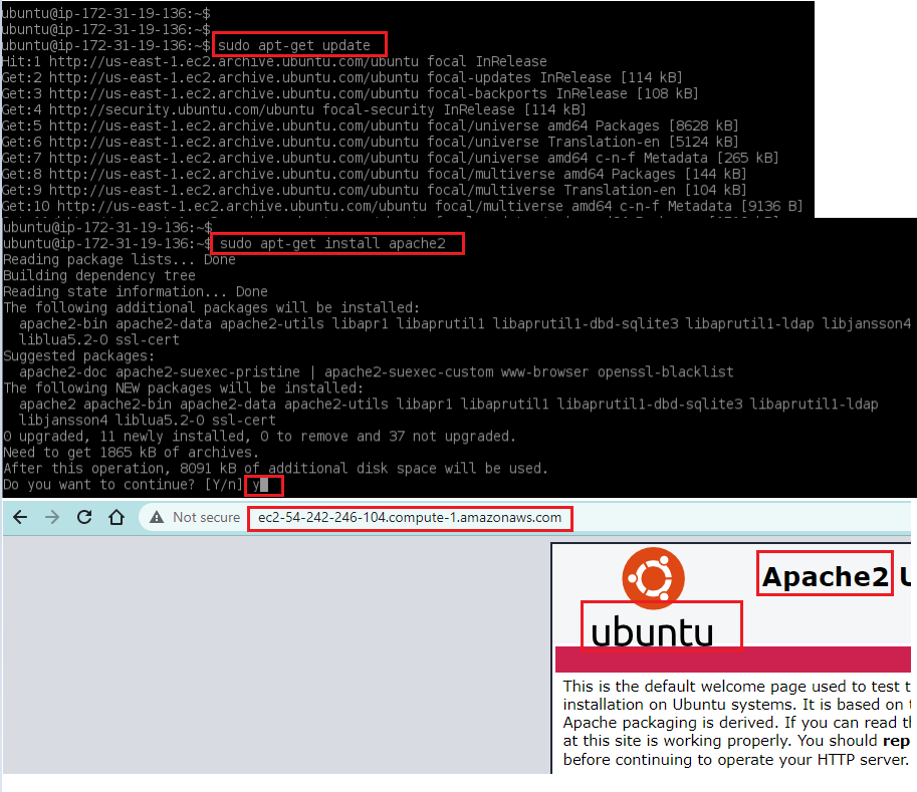
Sudo apt-get update
sudo apt-get install apache2
Once done Access the public DNS of EC2 instance on browser to see Apache Working
SSH to Another EC2 Instance
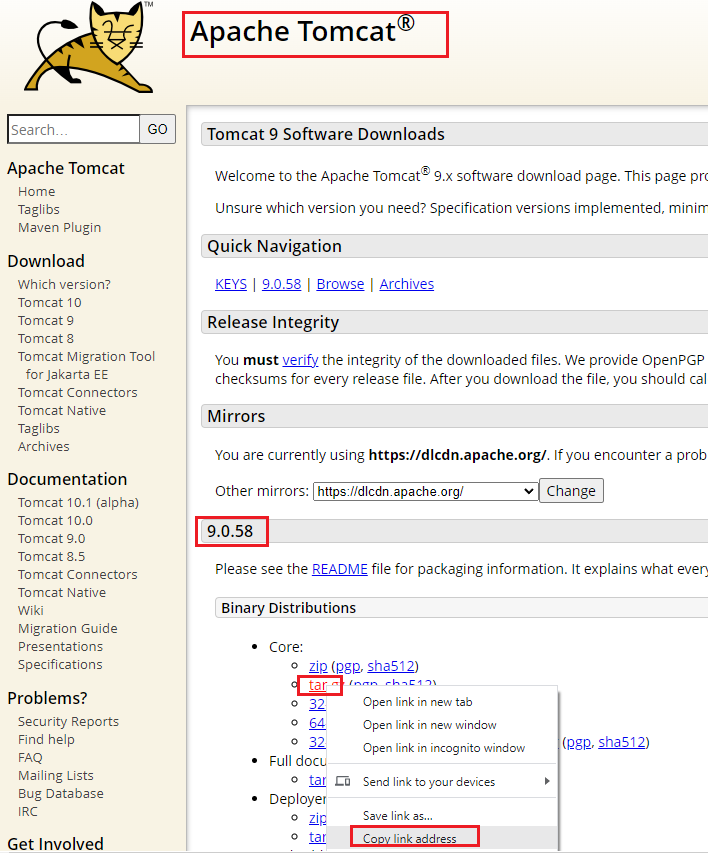
Now for Tomcat | Go to Tomcat Site Select the Correct Version | Put Cursor on tar and left click to copy its URL
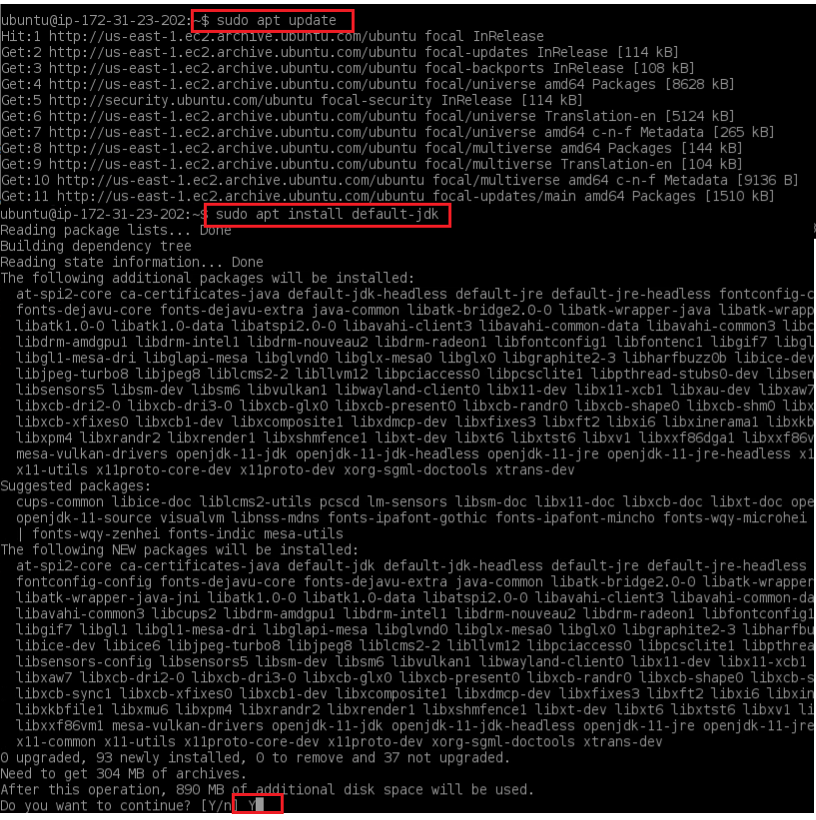
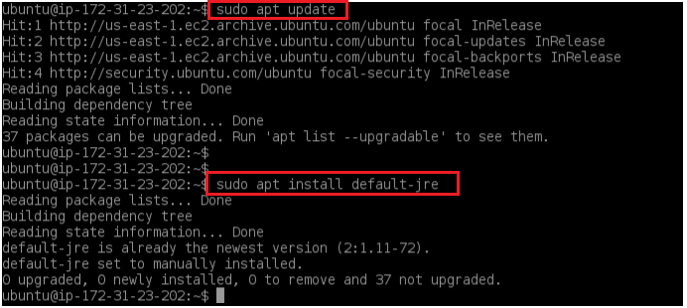
Use below commands , shown in figure to install GRE and then Tomcat
Now use the same copied link to download the Tomcat file in EC2 and then Unzip it | After Unzip move that file to tomacat9 and from that tomcat9 | verify to see the Bin file | From Bin : Start the Tomcat Service
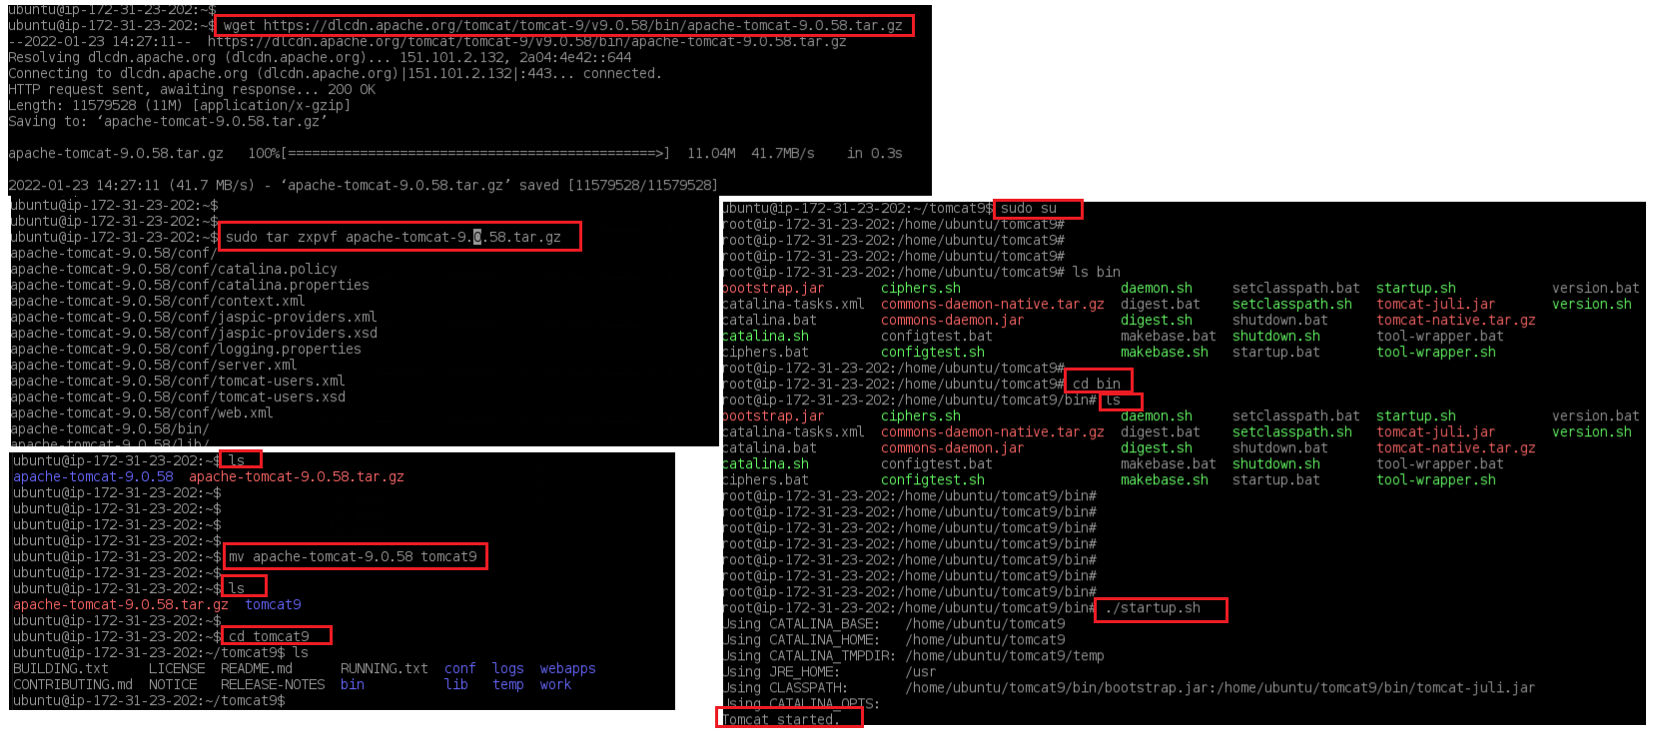
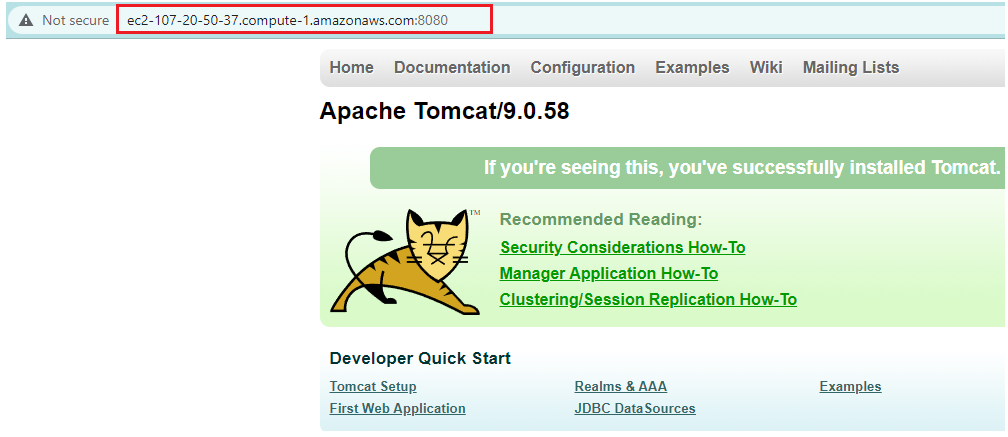
Browse the Public IP address of the Tomcat EC2 instance
Step 2: Configure target Group
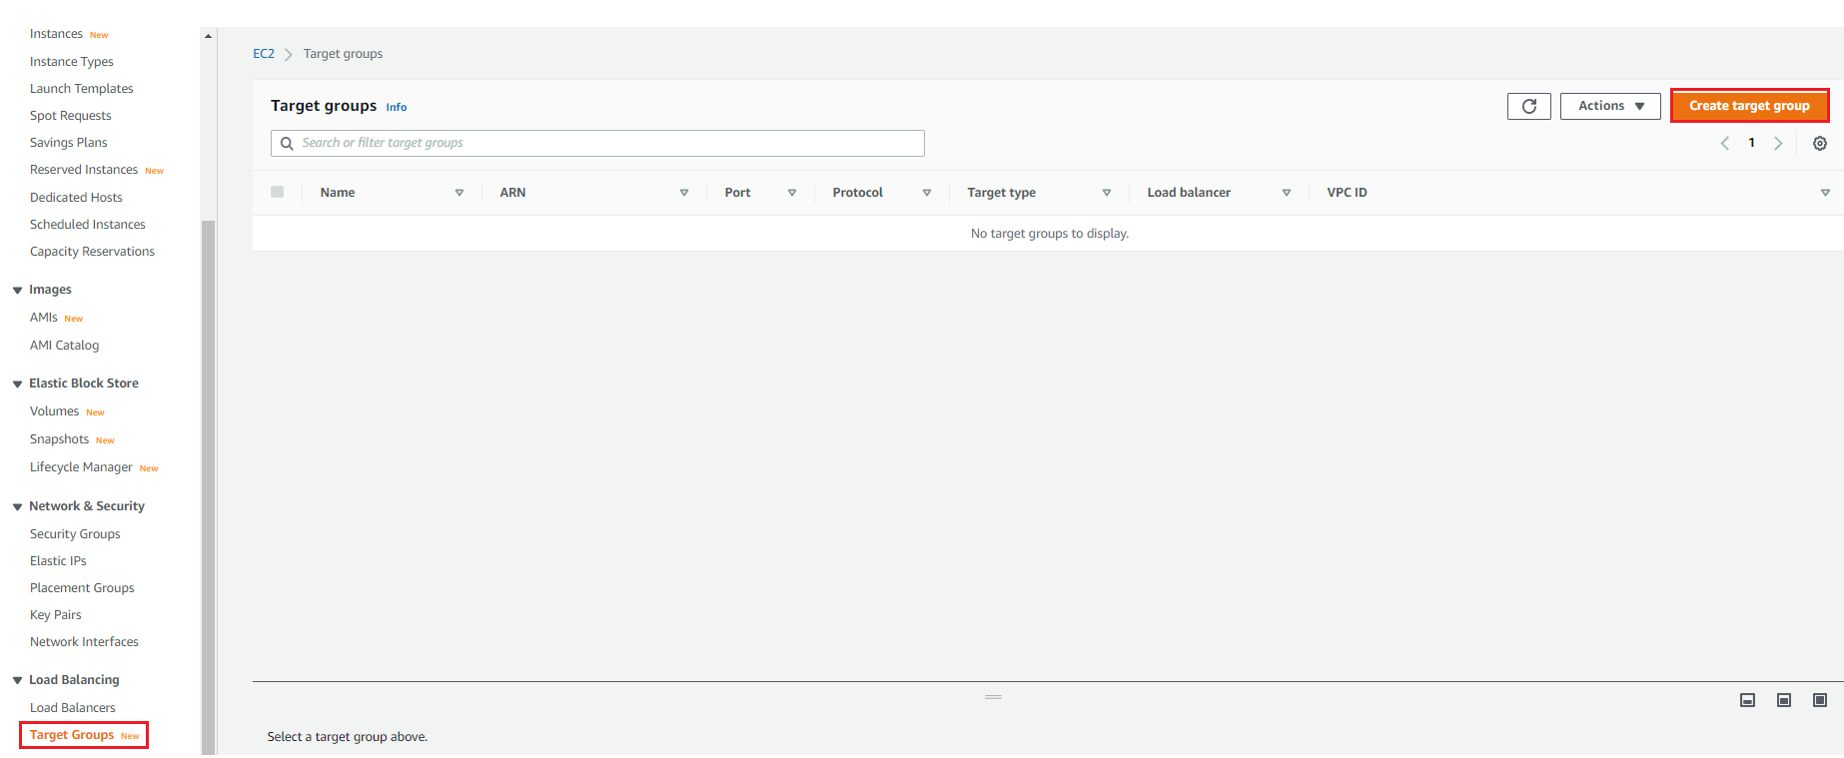
Under EC2 Instance | Go to Load Balancing | Select target Group | Click Create Target Group
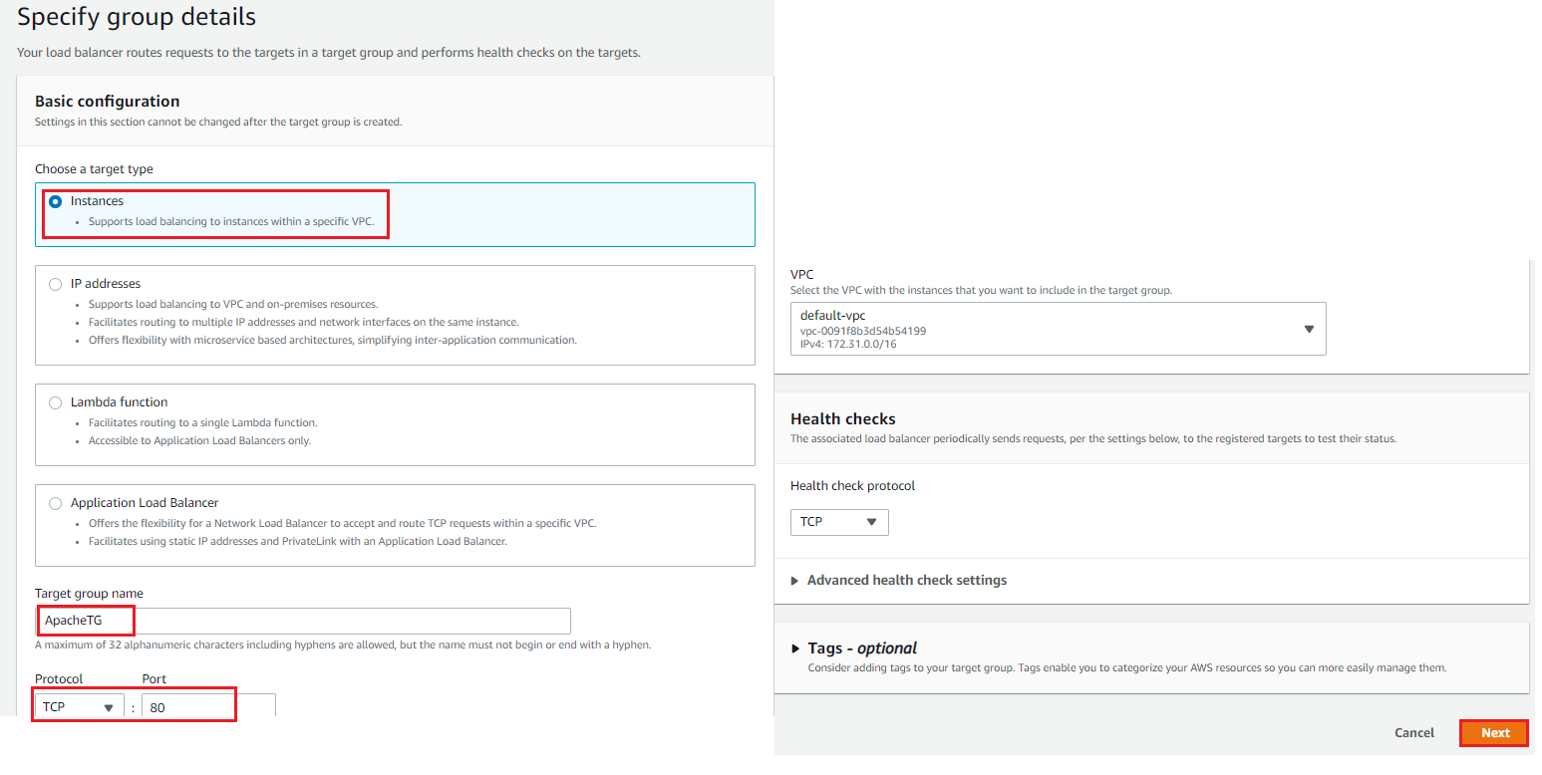
In Specify Group Details | Basic Configuration: Select Type Instance | Target Group Name: ApacheTG , Protocol TCP , Port 80
Under VPC : Select Default VPC | Leave Default Setting | Select Next
Under Register Target | Click Create target Group

Comment
TABLE OF CONTENTS
- LAB: Create a Custom VPC & test reachability between EC2 via Internet GW and NAT GW.
- LAB: Configure EC2 as VPN Server for Open VPN Connection
- LAB: Configure AWS Site to Site VPN Connection
- LAB: Configure Network Loadbalancer
- LAB : Configure Transit Gateway with Segmentation
- LAB :Configure Transit Gateway Peering between Two VPC
- LAB: Configure VPC Peering between Two VPC
- LAB : Configure VPC Endpoint to access S3
- LAB: Configure End to End VPC Endpoint Service
- LAB : Create VPC Flow Logs and Generate Traffic
- LAB : Configure WAF to block Web traffic
RECENT POSTS
- Installing Context-Aware Network Access Control using Cisco ISE Policies
- Designing Network Access Control that is Scalable using Cisco ISE Architecture
- Enterprise Network Access Control and Policy Enforcement using Cisco ISE
- Secure Device Administration and Network Access Using AAA Architecture
- Designing Enterprise-Class Hybrid Cloud Connectivity Using AWS Networking Services
- Exploring Core AWS Networking and Messaging Concepts for Modern Cloud Architectures
- Understanding Key AWS Services for Modern Cloud Architectures
- Building a Strong AWS Foundation with Amazon S3, EC2, and Virtual Private Cloud
- Understanding the ENSDWI Course: Advanced Cisco SD-WAN (Viptela) Concepts
- A Complete Guide to the DCACI-A Course: Mastering Advanced Cisco ACI Concepts


LEAVE A COMMENT
Please login here to comment.