EMAIL SUPPORT
dclessons@dclessons.comLOCATION
USCreating Custom VPC
Creating Custom VPC
Aws VPC is virtual private cloud and whenever you create a AWS account in AWS management console, a default VPC will always be created by default in region you select to work on.
Please complete the following task to create the custom VPC:
Task:
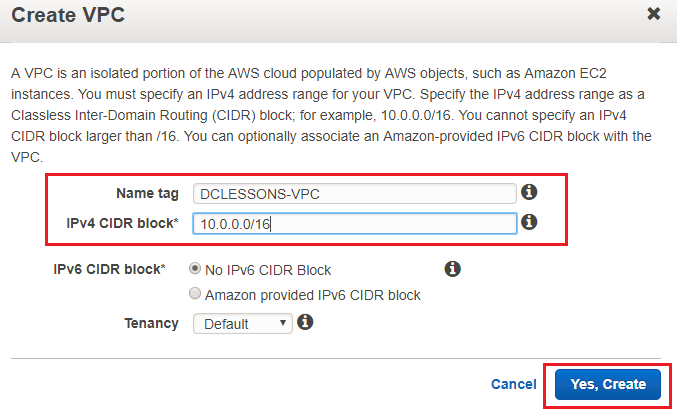
- Create the VPC and name it DCLESSOSN-VPC and select the CIDR range of 10.0.0.0/16.
- Create a Subnet name DCLESSONS-SUBNET1 in AZ us-east-2a with subnet 10.0.0.0/24 select your VPC named DCLESSONS-VPC
- Create the ACL named DLESSONS-ACL-1 and select your VPC and edit the ACL and allow all traffic for inbound and outbound rule.
- Create the SG name as DCLESSONS-SG-1 and allow SSH and HTTP traffic for inbound traffic and allow all traffic for outbound traffic.
- Create the IGW DCLESSONS-IGW-1 and associate it to VPC you created.
- Create the NAT gateway DCLESSONS-VPN-1 , create the Elastic IP address and attached it to your private Subnet 10.0.0.0/24.
- Edit the Route table (main route table) and create the 0.0.0.0/0 Destination and attach the IGW which you created and again add 0.0.0.0/0 and attach the NAT Gateway that is also created in another rule.
- Associate the Subnet ( 10.0.0.0/24 ) we created with the route table which has NAT and IGW gateway .
- Create another route table ( DCLESSONS-ROUTE-1) and associate it to another private subnet 10.0.1.0/24 with it.
- Create the Instance ( Linux) and Select the VPC which we created earlier and select the Public subnet which has IGW attached and enable Auto assign public IP , and provide Tag name and select the security group created earlier and launch and connect the instance via CLI ( Procedure to connect to linux Ami is already discussed in earlier section).
Step1:
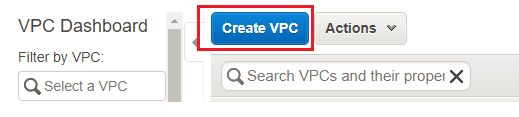
- To create the Custom VPC, Login to AWS management console and click on VPC dashboard. Then click on your VPC in left menu to and you will see create VPC option. Click on Create VPC. Put the VPC name tag and CIDR range. Don't change the other options and click on Yes, Create:
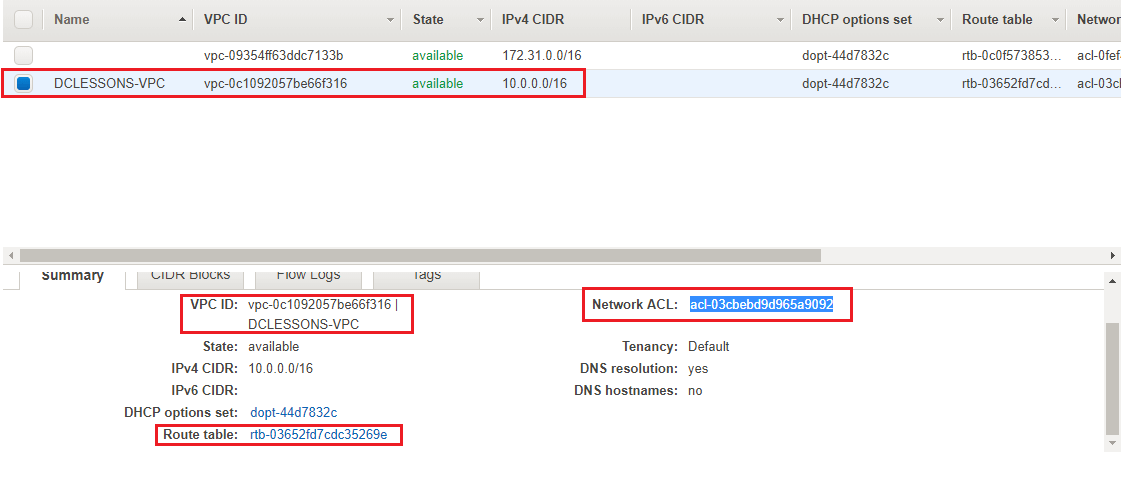
- A VPC is created with the given details. Please take note of the VPC ID which is vpc-0c1092057be66f316 as we can see, a Route Table and Network ACL have also been created and associated with the VPC. Also Note the Route table ID rtb-03652fd7cdc35269e and Network ACL ID: acl-03cbebd9d965a9092
Step2:
In each AZ we can host multiple Subnets and these subnets cannot span across multiple AZ in a region. There are two types of subnets which is public subnet which can be accessed by outside and has internet gateway / VPN gateway attached to it. Second is Private subnets which is not accessed by outside.
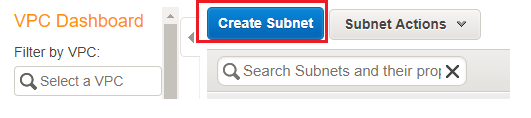
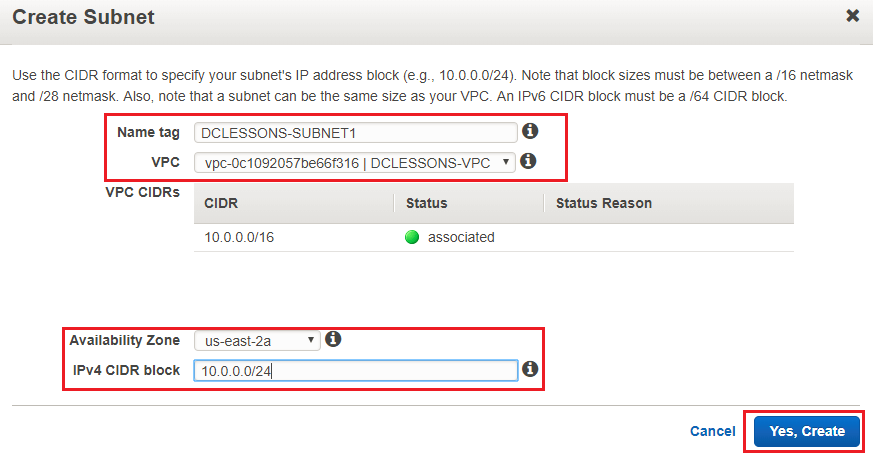
- Click on Subnetsin VPC Dashboard. Click on Create Subnet link. Put the Name tag, select the VPC, CIDR range and Availability Zone. Click on Yes, Create:
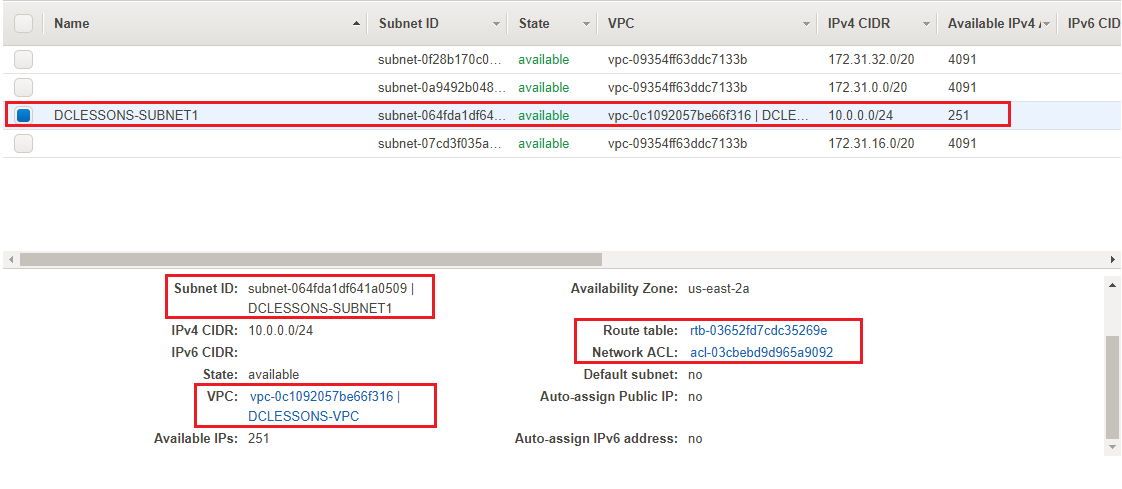
- A subnet DCLESSONSSUBNET1 is created which has Route Table rtb-03652fd7cdc35269e and the Network ACL acl-03cbebd9d965a9092. We can select a subnet and, from the Subnet Actions menu, delete a subnet or modify other settings:
- Click on the Route Table tab. You can see entries, one for local VPC communication. And in this you will not see that it is not attached to IGW that means this subnet is not able to communicate it to outside network and hence it acts as private network.


Comment
TABLE OF CONTENTS
- Amazon S3- Basic Features
- Amazon S3 Advance Feature
- Amazon Glacier
- LAB Amazon Simple Storage Service
- LAB Setting up a Static Website
- LAB Enabling Versioning
- LAB Lifecycle Policy for S3 Bucket
- LAB: Create S3 Bucket & Upload Image & View Over browser
- LAB: Install AWS CLI
- LAB: Configure Lembda to upload an object in S3 Bucket
- Creating Custom VPC
- How to Attach Multiple IP to ENI-Instance
- How to Configure Launch Configuration & Auto Scaling
- How to Configure VPC Peering
- How to Configure VPN for VPC
- How to Configure VPC Tunneling
- How to Configure VPC with Private Subnet & Connect to DC
- How to Create Template for CloudFormation
- How to Configure Cloud Formation
- LAB: Configure Auto-Scaling & validation
RECENT POSTS
- What is Docker and Why is It Important?
- Learn Python 3.0 Programming for Network Automation
- Cisco ACI Data Centre: A Comprehensive Overview
- How to Prepare for the Microsoft Azure AZ-305 Exam
- AWS Training Certification Course for Solutions Architect
- Cisco SASE Architecture
- SASE vs SD-WAN
- What is SASE
- Accessing Amazon S3 using AWS private Link in Secure hybrid method.
- Cisco Smart Licensing Policy


LEAVE A COMMENT
Please login here to comment.